Last updated April 12, 2019
For those who aren’t up-to-date with technology then it’s worth knowing that the Google Nexus 7 doesn’t come with 3G capabilities, just wireless, unless you have recently purchased the newest release which is the 32GB version and can connect to 3G.
If you own the standard 16GB or 32GB models then you will only be able to utilize wireless connections, but there are two ways you can connect to 3G even if your tablet doesn’t have it inbuilt.
Attempt 1. Connect Using a USB 3G Dongle

This can be hit and miss if you don’t do your research, as some dongles are compatible with Android and some aren’t.
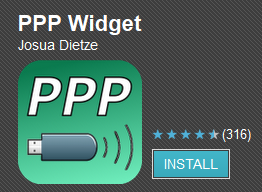
To start with you will need to install a free app that is available on the Google Play Store, called PPP Widget. This little app will then allow you to plug in your USB 3G Dongle and connect it to the tablet. The app has plenty of 5 star reviews so you shouldn’t find a problem with setting it up or using it.
You can get a 3G dongle from over on the Amazon site for as little as $35 and all you need to do is transfer your SIM card from your Android smartphone to the dongle in order to get 3G working.
Attempt 2. Tether Your Smartphone to Your Tablet

This way will end up saving you quite a bit of cash and also cuts out the time factor as there is no need to remove your SIM card from your phone in order to use 3G with your Nexus 7.
As we know each phone is different but you should be able to tether by going into your cell phones settings option, tapping into wireless and network and then you should see a tethering tab. You should then hopefully see portable hotspot settings which you can configure from here.
Set yourself up with a password and a broadcast name, then on the Nexus 7 you can connect to the hotspot just like you would for any other connection.
This way is simple, less hassle, less time dependent, and cheaper!