Report – Key Takeaways Galaxy Z Fold and Flip models can lose up to 15% of their value within 8
Continue reading
Report – Key Takeaways Galaxy Z Fold and Flip models can lose up to 15% of their value within 8
Continue reading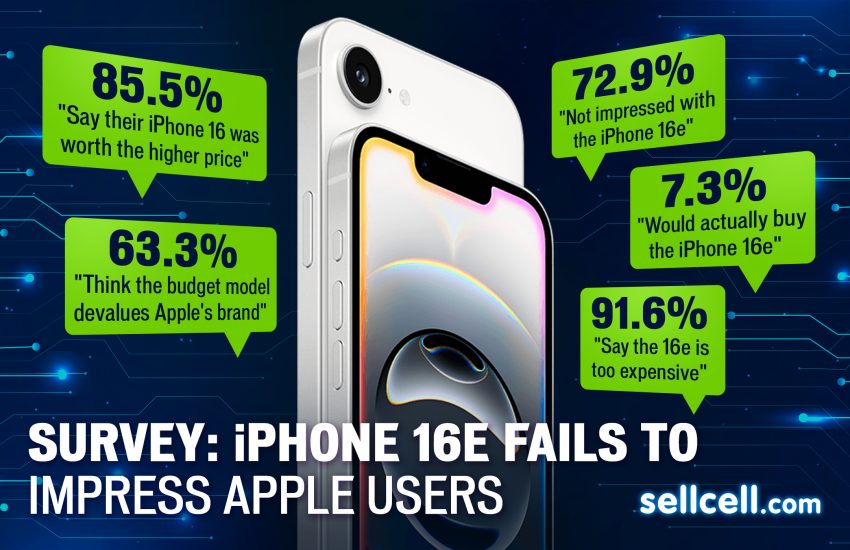
72.9% of Apple users are unimpressed with the iPhone 16e 91.6% say the iPhone 16e is too expensive Only 7.3%
Continue reading
Within just five days of Apple discontinuing the iPhone 14 & Plus, some models have already dropped by $22. This
Continue reading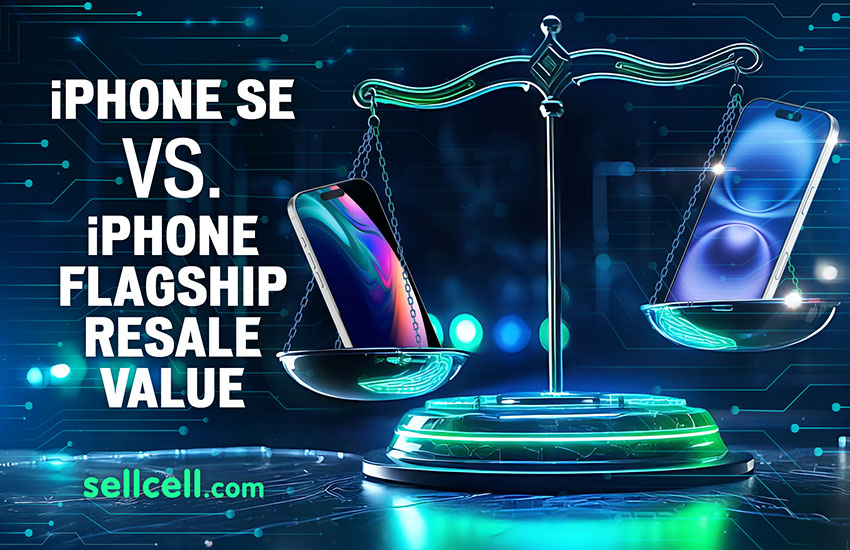
Last updated February 21, 2025iPhone SE models lose nearly half their value in the first month after launch – depreciating
Continue reading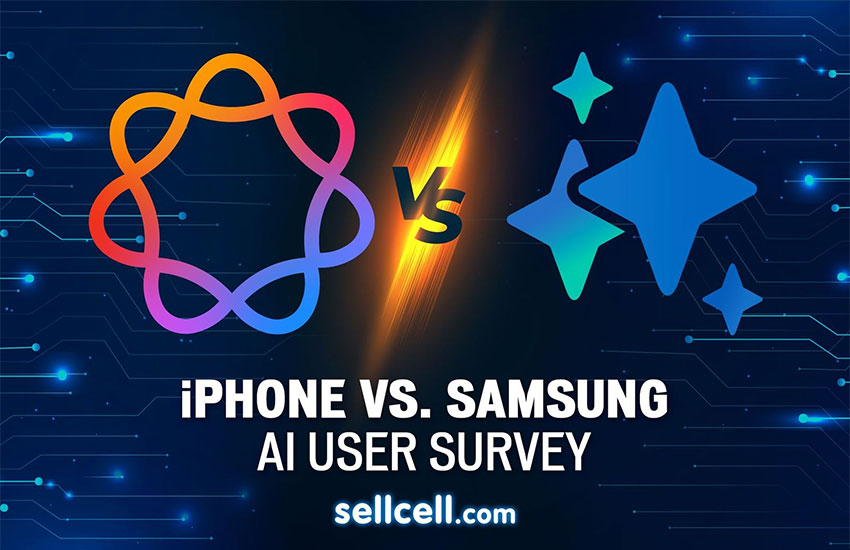
AI Features Fail to Impress iPhone and Samsung Users, but Better Mobile AI Could Spark Loyalty Shift Among iPhone Owners
Continue reading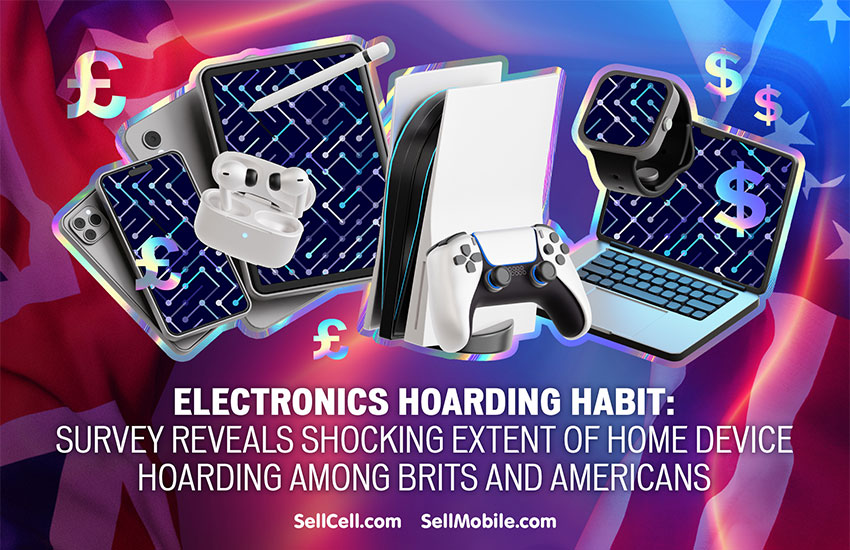
Brits Dominate in Device Hoarding, But Americans Fail to Untap Billions In Lost Device Clutter Introduction – Why is Device
Continue reading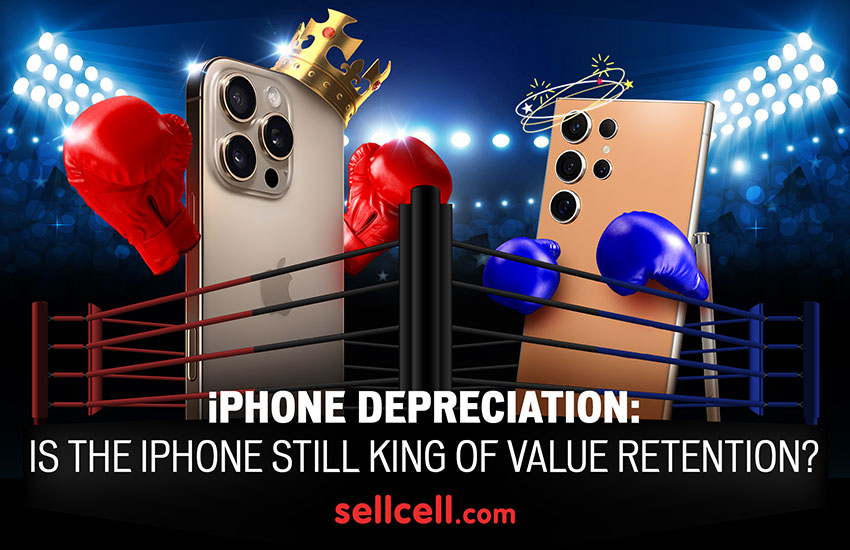
PSA: iPhones continue to hold their value vs. other brands… But watch out, as Samsung Galaxy S-series retains more value
Continue reading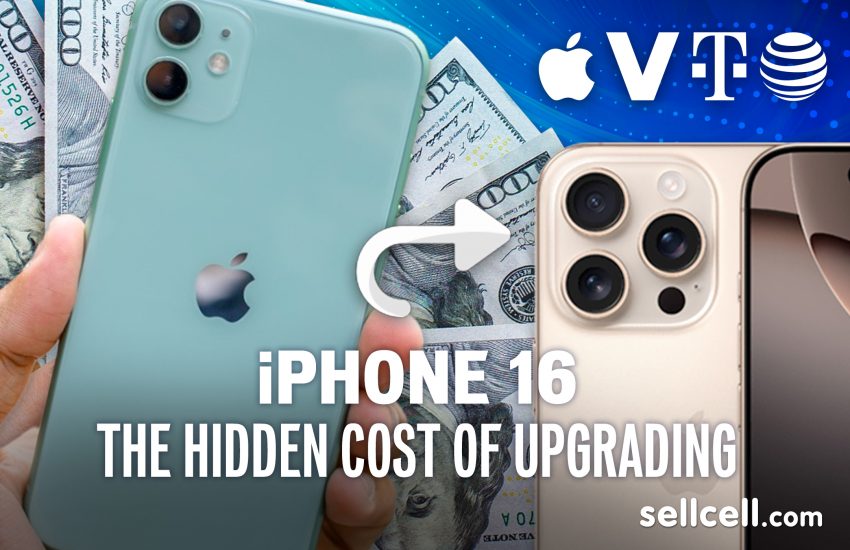
iPhone Owners are Getting Shortchanged on iPhone Trade-In by hundreds of dollars when Upgrading to iPhone 16 Report Highlights Apple
Continue reading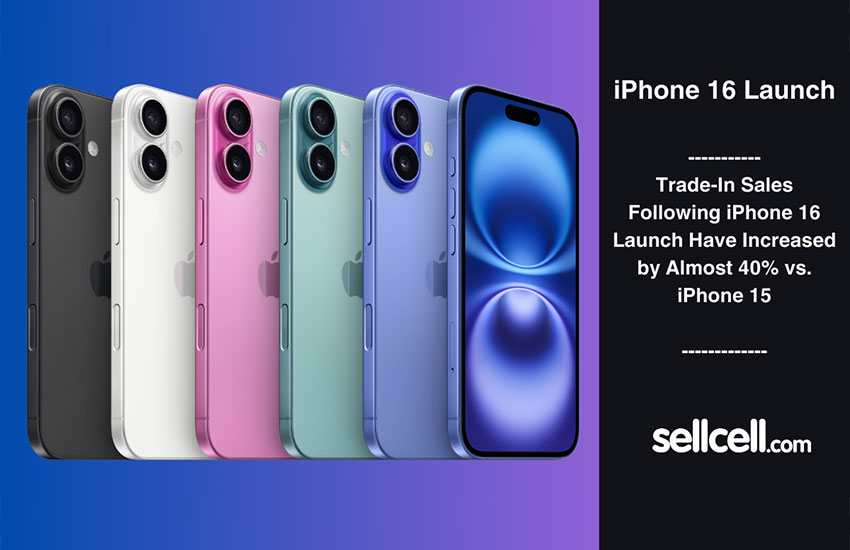
Trade-In Sales Following iPhone 16 Launch Have Increased by Almost 40% vs. iPhone 15 Apple revealed its iPhone 16, 16
Continue reading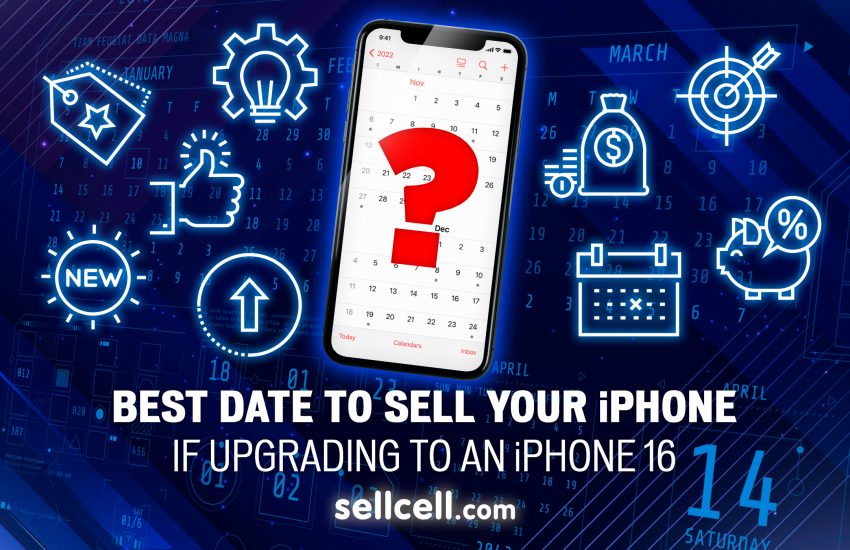
Last updated September 9, 2024Sell your old iPhone before Sept 6th or risk losing out on hundreds of dollars to
Continue reading